Dev Notes
Building AI Player Navigation With Unity NavMesh, NavMesh AI, and Unity AI Techniques
Unity NavMesh is the layer that turns a level's geometry into something an AI character can actually reason about: a walkable surface, a set of costs, and a pathfinding graph, instead of a pile of colliders. A working Unity navmesh ai navigation setup replaces raycasts and hand-written steering rules that break the moment a level gets more complicated than a flat arena. With it, a single component handles path planning, obstacle avoidance, and movement, and most of the remaining work is telling it where the AI should go.
What's changed in the last several years is not the scripting API so much as how the mesh itself gets built. A Unity navmesh ai navigation setup used to mean baking once in the editor and shipping that bake as-is. Today it can be rebuilt at runtime, per level chunk, as terrain changes or new obstacles appear.
What Unity NavMesh Solves for AI Player Navigation
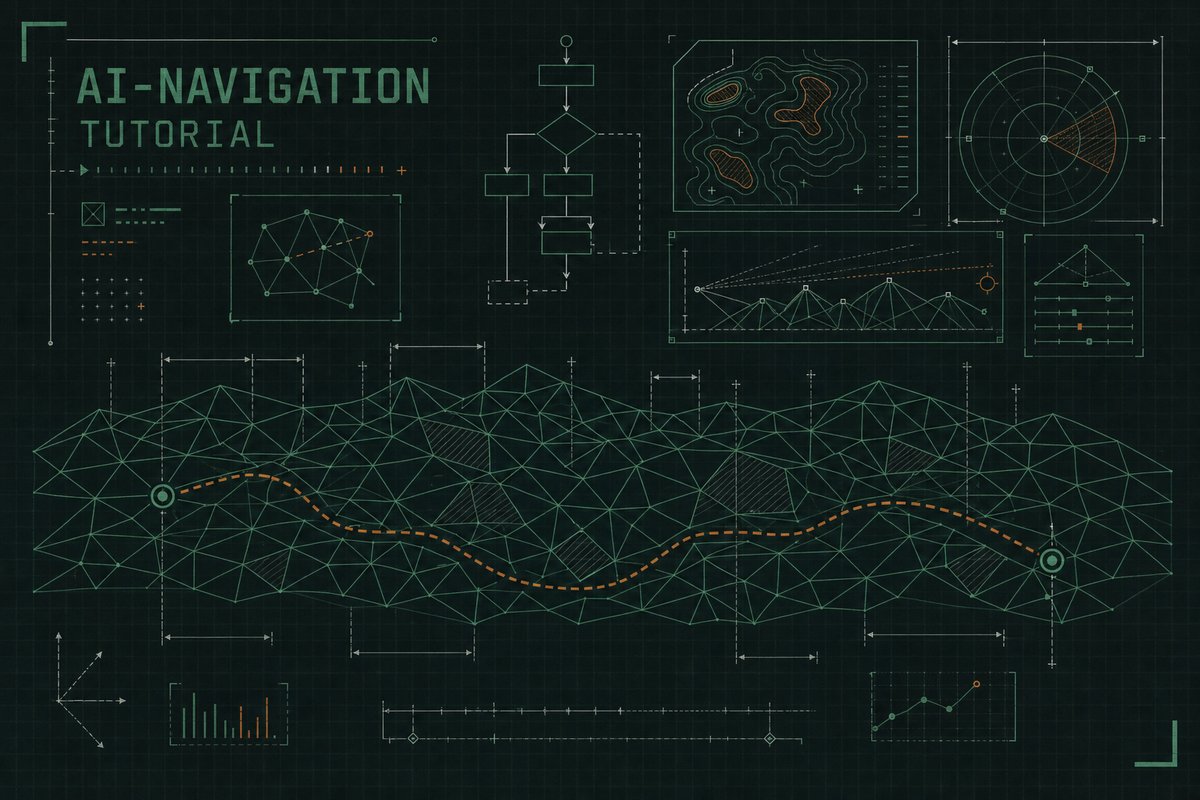
A NavMesh is a simplified, walkable surface generated from a scene's static geometry, annotated with area costs and edges an agent can path across. Instead of an AI character testing collisions against every wall and ramp in a level, it queries a precomputed graph and gets back a path in a fraction of a millisecond. Unity NavMesh navigation is what makes it practical to have a dozen agents pathfinding simultaneously without stalling the frame.
Static Baking vs the Runtime Unity Navigation Package
The single biggest change to this workflow since the early 2010s is that NavMesh baking moved out of Unity core and into an installable Unity Navigation package, com.unity.ai.navigation, per Unity's documentation. Back when static baking through the editor's Navigation window was the only option, any change to level geometry at runtime, a collapsed bridge, a destroyed wall, meant the NavMesh simply became wrong until the next manual bake. Runtime baking didn't exist at all in that era.
The Unity Navigation package changes that by exposing baking as a runtime-callable component rather than an editor-only menu action, which matters a great deal for any game with destructible or procedurally generated levels. It's also the detail most Unity nav mesh tutorial writeups from the static-baking era simply never had to cover, since the capability didn't exist yet.
Setting Up NavMeshSurface for Runtime Baking
NavMeshSurface is the component at the center of the modern workflow. Attach it to a GameObject, assign an agent type, and it can bake a walkable surface either in the editor or, notably, at runtime with a single method call:
using Unity.AI.Navigation;
using UnityEngine;

public class RuntimeNavBaker : MonoBehaviour
{
    [SerializeField] private NavMeshSurface surface;

    public void RebuildAfterDestruction()
    {
        surface.BuildNavMesh();
    }
}
Calling BuildNavMesh() after a chunk of terrain changes, a bridge collapses, a wall falls, keeps the walkable area accurate without a manual re-bake and without shipping a separate build step. Multiple NavMeshSurface components, each targeting a different agent type, coexist fine on the same scene, which is how a project supports both a small scout character and a much wider vehicle on the same level.
NavMeshAgent and Unity AI Movement Basics
Once a surface exists, NavMeshAgent and the static NavMesh class remain the scripting-level API for Unity AI movement, largely unchanged from the classic workflow. Setting a destination is a single call:
public class PatrolAgent : MonoBehaviour
{
    [SerializeField] private NavMeshAgent agent;
    [SerializeField] private Transform target;

    void Start()
    {
        agent.SetDestination(target.position);
    }

    void Update()
    {
        if (!agent.pathPending && agent.remainingDistance < agent.stoppingDistance)
        {
            // Arrived; pick the next patrol point here.
        }
    }
}
Unity AI built this way needs almost no custom steering code, since NavMeshAgent already handles local avoidance between agents and smooth turning along the path. A Unity ai player navigation system built entirely on NavMeshAgent, with no additional layer, is a completely reasonable starting point for most character-based AI.
agent.pathPending is easy to skip and worth calling out on its own: a path request isn't resolved the instant SetDestination returns, it's computed asynchronously over the next frame or two. Checking remainingDistance before pathPending clears reads a stale distance from the previous path, which is a common source of an agent that appears to arrive, then immediately un-arrives, one frame later.
NavMeshModifier and NavMeshLink: Shaping the Navigable Area
NavMeshModifier and NavMeshModifierVolume adjust how specific geometry contributes to the bake, marking an area as higher-cost mud, or excluding a decorative prop from the walkable surface entirely without physically removing its collider. NavMeshLink connects two surfaces that aren't physically touching, a gap an agent should jump across, a ladder, a one-way drop, which the automatic bake alone has no way to infer on its own.
Together, the three give a level designer fine control over an agent's behavior without touching a single line of pathfinding code.
NavMesh Areas and Cost-Based Pathing
Beyond simple walkable-or-not geometry, a NavMesh bake also assigns each surface an area type, Walkable, Not Walkable, Jump, or a custom area a project defines itself, and each area type carries a cost multiplier. An agent doesn't just avoid a high-cost area outright; it factors that cost into its pathfinding, so a shorter route through waist-deep mud can lose out to a longer route across open ground once the mud's cost multiplier is high enough.
This is where NavMesh AI navigation starts to feel less like simple pathfinding and more like actual decision-making. Marking a sniper's likely line of fire as a high-cost area, without physically blocking it, nudges an agent toward cover-hugging routes without a single line of custom avoidance logic. Combined with NavMeshAgent.areaMask, which restricts which area types a given agent is even allowed to cross, the same baked mesh can serve very different movement rules for a scout, a heavy unit, and a flying agent that ignores ground costs entirely.
NavMesh AI for Vehicles: the Turning Radius Problem
NavMesh AI navigation was designed around humanoid movement, and it shows the moment a vehicle enters the picture. NavMeshAgent has no built-in concept of a minimum turning radius; it happily plots a path with sharp corners a car or tank simply cannot physically execute. Developers on Unity Discussions have run into exactly this limitation when asking about a NavMesh agent with a turning radius, and the common answer holds up well: use NavMeshAgent purely for the high-level path, then feed its corner points into a separate steering layer, often a simple Pure Pursuit or arrive-and-turn controller, that respects the vehicle's actual physical constraints.
This split, NavMesh for the route, a dedicated controller for the physical motion, is now the standard pattern for any Unity AI player navigation system involving vehicles rather than legs. It also happens to be a natural fit for a modular vehicle combat game, since the steering layer already has to account for a chassis whose handling changes mid-match as parts get bolted on or shot off, work a generic NavMeshAgent path was never going to do correctly on its own regardless of turning radius.
Common NavMesh Pitfalls and Lessons Learned
A few problems recur often enough across NavMesh AI projects that they're worth naming directly rather than discovering the hard way.
The Bake Silently Misses Part of the Level
A NavMesh bake that skips a room usually means the geometry either isn't marked as Navigation Static, or it sits outside the bake bounds configured on the NavMeshSurface. It rarely means the pathfinding code itself is broken; check the bake inputs before touching a single script, and check them in that order, geometry flags first, bounds second, before assuming the fault lies anywhere near a NavMeshAgent at all.
Agents Get Stuck on Tight Corners
NavMeshAgent's own avoidance radius, set too large relative to a corridor's width, produces agents that hug walls and stall in doorways. Shrinking the agent radius slightly, rather than widening every corridor in the level, usually resolves it faster.
Treating a Rebuild as Free
Runtime baking through NavMeshSurface is genuinely useful, but calling BuildNavMesh() every frame, instead of only after a real geometry change, turns a convenience feature into a hidden performance problem. Trigger it from the destruction or terrain-change event itself, never from Update.
Taken together, these are less about NavMesh being fragile and more about it doing exactly what it's told, silently, which means the bake inputs and trigger conditions deserve as much attention as the pathfinding code sitting on top of them.
Debugging a NavMesh Visually in the Editor
Before touching a single line of NavMeshAgent code, it's worth confirming the mesh itself looks the way it's supposed to. Selecting a baked NavMeshSurface highlights its walkable area directly in the Scene view, drawn as a translucent overlay across the level geometry, and the separate Navigation window's bake preview shows the same surface with area-type coloring layered on top.
A gap in that overlay where a room should be, a color that doesn't match the expected area type, or a walkable strip cutting straight through what should be a solid wall are all bake problems, not movement-script problems, and they're visible in about ten seconds once the overlay is on screen. Most reported "AI won't move" issues turn out to be a bad bake once someone actually looks at the mesh instead of the code calling SetDestination.
Check the baked mesh visually first, the agent's path in the Scene view second (NavMeshAgent draws its current corner-to-corner path when selected), and only then step into the movement script itself. Skipping straight to the script is the slower path in practice.
Frequently Asked Questions
What is a NavMesh in Unity?
A Unity NavMesh is a simplified walkable surface generated from a scene's geometry, used by AI characters to plan paths without testing collisions against every wall and object in the level directly.
What does Unity NavMesh AI navigation actually do?
It combines a baked walkable surface with a pathfinding query system, so an AI agent can request a route to a destination and receive a valid path instantly, rather than the game working that out through trial-and-error movement.
How is NavMesh baking different today from the old static Navigation window?
The classic workflow only baked once, in the editor, through the Navigation window, and any runtime change to level geometry left the mesh stale until a manual re-bake. The current AI Navigation package adds NavMeshSurface, which can rebuild the mesh at runtime with a single method call, something the original workflow had no way to do at all.
What is NavMeshSurface and why does it matter?
NavMeshSurface is a component from the AI Navigation package that bakes a walkable NavMesh for a specific agent type, either in the editor or at runtime via BuildNavMesh(). It matters because it's what makes rebuilding the mesh after destruction or procedural generation possible.
Can I bake a NavMesh at runtime instead of only in the editor?
Yes, that's the main capability the AI Navigation package added. Calling NavMeshSurface.BuildNavMesh() after a relevant change, destroyed geometry or newly generated terrain, rebakes the walkable surface without requiring a manual edit-time bake.
What is NavMeshAgent and how does it move a character?
NavMeshAgent is the component that moves a GameObject along a path computed against the baked NavMesh. Calling SetDestination hands it a target position, and it handles pathfinding, local avoidance between agents, and smooth turning automatically.
What is NavMeshModifier used for?
NavMeshModifier changes how specific geometry contributes to a bake, for example marking an area as higher-cost terrain or excluding a decorative object from the walkable surface without deleting its collider.
What's the difference between NavMeshModifier and NavMeshModifierVolume?
NavMeshModifier attaches to a specific piece of geometry and affects only that object's contribution to the bake. NavMeshModifierVolume instead defines a bounding volume in space, affecting anything inside it regardless of which objects sit there, useful for area-based effects like a mud pit or a no-go zone.
What is a NavMeshLink and when do I need one?
NavMeshLink connects two NavMesh surfaces that aren't physically touching, such as a gap an agent should jump across, a ladder, or a one-way drop. It's needed whenever the automatic bake alone can't infer that a connection between two areas should exist.
Does NavMeshAgent handle vehicles with a turning radius correctly?
Not on its own. NavMeshAgent has no built-in minimum turning radius and will plot corners a real vehicle can't physically follow. The standard fix is using NavMeshAgent purely for the high-level path and feeding its waypoints into a separate steering controller that respects the vehicle's actual turning limits.
Why does my NavMeshAgent get stuck at corners or obstacles?
This is usually the agent's avoidance radius being too large relative to the width of a doorway or corridor, causing it to hug walls and stall rather than pass through cleanly. Reducing the agent radius slightly is often a faster fix than widening the level geometry.
Do I need to install the AI Navigation package, or is NavMesh built into Unity core?
NavMeshAgent and the scripting-level pathfinding API remain in Unity core, but NavMeshSurface, NavMeshModifier, and NavMeshLink live in the separately installable com.unity.ai.navigation package, needed for any runtime baking or the newer modifier components.
How do multiple agent types work with different NavMesh requirements?
Each agent type gets its own NavMeshSurface bake, configured with the appropriate radius and height for that character or vehicle. A level can have several coexisting surfaces, one for a small scout and a separate, wider one for a vehicle, generated from the same underlying geometry.
Why doesn't my baked NavMesh cover part of the level?
Almost always because that geometry isn't marked Navigation Static, or it falls outside the bake bounds set on the NavMeshSurface component. Checking those two settings resolves the vast majority of "missing area" cases before any script needs to change.
Is Unity AI navigation only useful for humanoid characters?
No, but it was designed with humanoid movement in mind, which is why vehicles need the extra turning-radius layer described above. Flying or swimming agents typically bypass NavMesh entirely in favor of a 3D steering system, since a 2D walkable surface doesn't represent their movement space well.
How do I debug a NavMesh that seems broken?
Enable the NavMesh display in the Scene view first; a visibly missing or malformed area almost always points straight to the bake settings rather than the movement script. Only after confirming the mesh itself looks correct is it worth debugging NavMeshAgent's path requests directly.
What's a common Unity nav mesh tutorial mistake for beginners?
Most beginner Unity nav mesh tutorial content skips runtime rebaking entirely and treats the bake as a one-time editor step, which works fine until the level changes during play. Learning NavMeshSurface.BuildNavMesh() early avoids rebuilding that lesson the hard way later.
Conclusion
A working Unity NavMesh setup today is really three separate decisions stacked on top of each other: how the surface gets baked, how an agent follows it, and whether the thing moving along that path is a character NavMeshAgent already understands or a vehicle that needs its own steering layer bolted on top. Get the bake inputs right and the pathfinding underneath rarely needs a second look.